

You have 5 URLs you want to monitor. Easy — you create them one by one and you are done in a few minutes. But what if you have 50? Or 500? Clicking through the interface for each one is simply not practical.
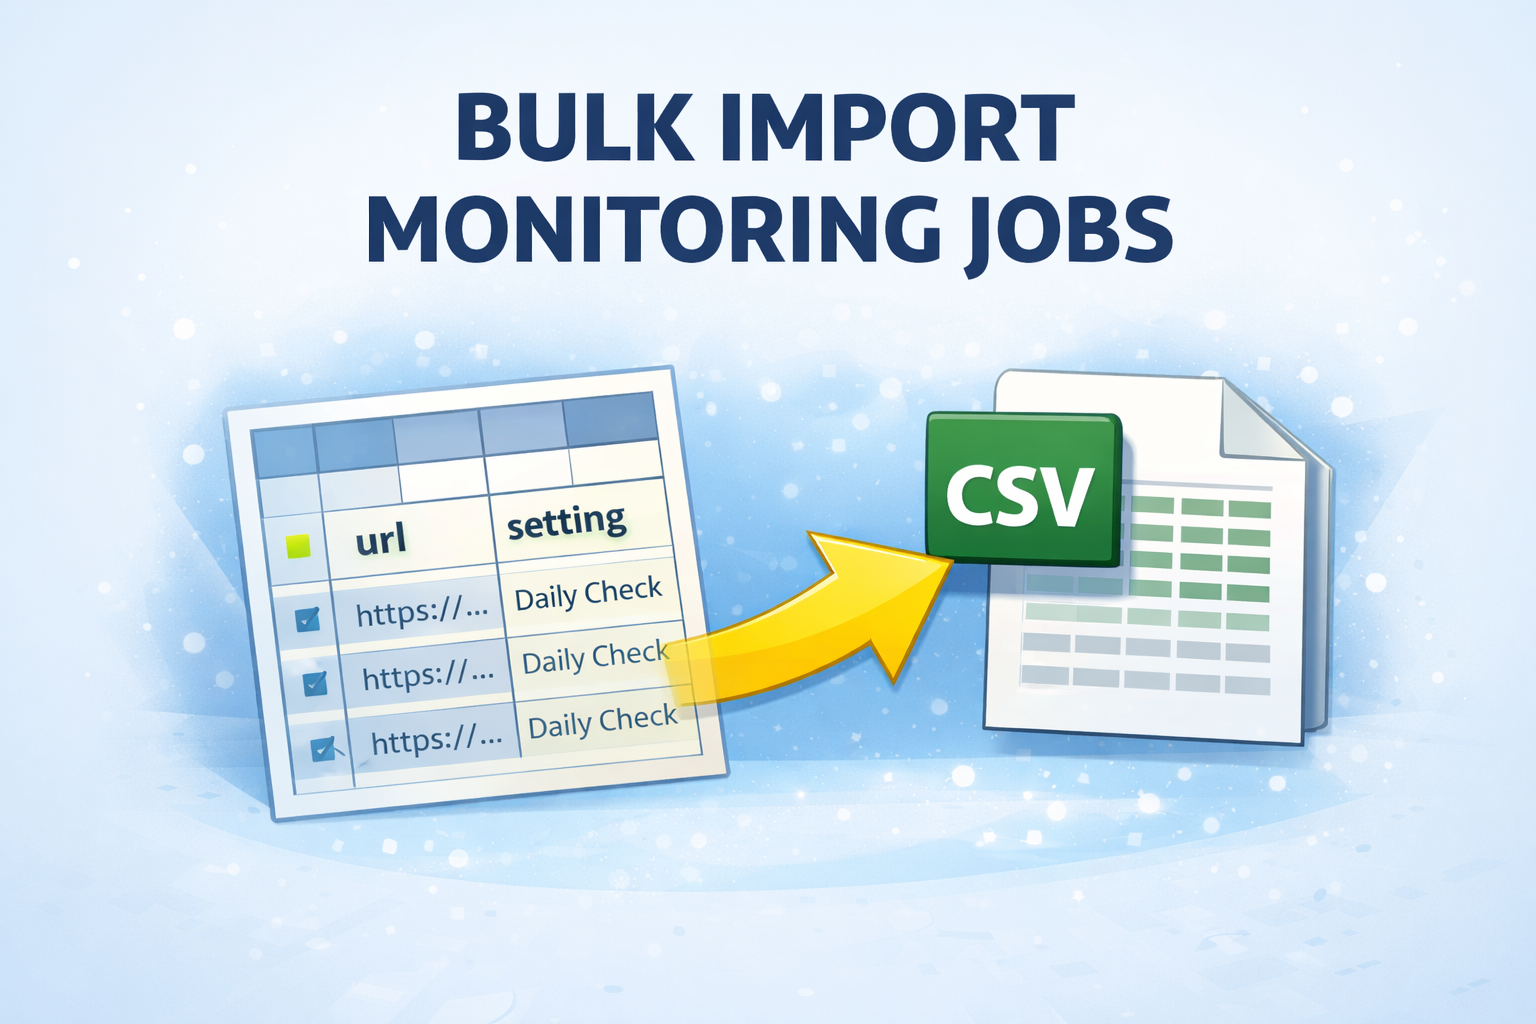
This is where CSV Import comes in. It lets you create (or update) hundreds of monitoring jobs in one go, using a simple spreadsheet file.
Where to Find It
Log in to your Sken.io account and navigate to the Imports page. You will see two things at the top: a "Download example import" link and a "Create import" button. The example file is a real CSV that you can open in Excel, Google Sheets, or any text editor. It already contains the correct column headers, so you can fill in your own data and upload it right away.
How the CSV File Looks
Each row in the file represents one job. The columns tell Sken.io what to monitor, how to monitor it, and where to put it. Here is a quick overview:
| Column | Required? | What it does |
|---|---|---|
| url | Yes | The full address of the page you want to monitor. |
| name | No | A friendly name for the job. If you leave it empty, the URL is used as the name. |
| setting_id or setting_name | One of them | Which job setting to use. You can pass the numeric ID or the exact name — Sken.io will find the right one. |
| id | No | Your own unique identifier for the job. This is the key to updating existing jobs (more on that below). |
| group_id or group_name | No | Assign the job to a group. If you use a group name that does not exist yet, it will be created automatically. |
| xpath | No | An XPath selector for the element you want to watch, for example //div[@id="price"]. |
| position_x, position_y, position_width, position_height | No (all four together) | Pixel coordinates of a crop area on the page. All four must be present if you use this mode. |
If you leave out all the area columns (xpath, coordinates, ai_prompt), Sken.io defaults to monitoring the entire page body.
Creating New Jobs vs. Updating Existing Ones
This is the part that makes imports really powerful for ongoing use, not just one-time setup.
The id column is your own identifier — it can be a product SKU, an internal code, a database ID from your system, or just a string like my-homepage-price. It is entirely up to you.
- If a row has an id that does not match any existing job in your account, a new job is created.
- If a row has an id that already exists, the existing job is updated with the new values (URL, name, settings, area, group).
- If a row has no id at all, a new job is always created — there is nothing to match against.
This means you can maintain a master spreadsheet of all your jobs. When something changes — a new URL, a different XPath, a different group — you just re-upload the file and only the changed jobs get updated. No duplicates.
The "Delete Missing Jobs" Option
When you click "Create import", there is a checkbox labeled "Delete all jobs not present in this import". This is a useful but powerful option, so it is worth understanding before you check it.
When enabled, Sken.io will look at all jobs in your account that have an id assigned. If a job's ID is not found anywhere in the uploaded file, that job gets deleted. The idea is simple: your CSV becomes the single source of truth. Anything not in the file is removed.
A few things to keep in mind:
- Jobs that were created without an id (either manually or from a previous import without the id column) are not affected. They cannot be matched, so they stay.
- Deleted jobs are logged in the import report, so you can always review what happened.
- This option is off by default. You have to explicitly turn it on each time.
What Happens After You Upload
Once you upload the file, the import goes into a queue and gets processed in the background. You do not have to wait on the page — you can close the tab and come back later.
On the Imports page, you will see a table with all your past imports. Each row shows:
- Created at — when you uploaded the file.
- Finished at — when processing completed.
- Processed — total number of rows the system went through.
- Valid — how many rows were successfully imported.
- Errors — how many rows failed.
- Status — Waiting, Finished, or Error.
- Report — a downloadable CSV report with details for every single row.
The report file is especially handy when you have a large import. It lists each row with its status (Imported, Failed, or Deleted) and the error message if something went wrong — missing URL, invalid setting name, incomplete coordinates, and so on.
Common Mistakes and How to Avoid Them
After watching many imports go through the system, here are the issues that come up most often:
- Missing setting: Every row needs either setting_id or setting_name. If neither is provided, or the name does not match any setting in your account, the row fails.
- Incomplete coordinates: If you use the crop mode, all four values (position_x, position_y, position_width, position_height) must be present. Leaving out even one of them will cause an error.
- Invalid URL: The url column must contain a full, valid address including https://.
- Mixing area modes: Do not put both an xpath and crop coordinates in the same row. If both are present, xpath takes priority and the coordinates are ignored. Keep it clean — use one mode per row.
- File format: The file must be a .csv file. Excel files (.xlsx) or other formats are not supported.
A Practical Example
Let's say you run an online store and you want to monitor the price on 3 product pages. Your CSV would look something like this:
| id | url | name | setting_name |
|---|---|---|---|
| prod-101 | https://myshop.com/shoes | Running Shoes | Daily Check |
| prod-102 | https://myshop.com/jacket | Winter Jacket | Daily Check |
| prod-103 | https://myshop.com/hat | Summer Hat | Daily Check |
Next week, you add two new products and one of the old ones changes its URL. You update the spreadsheet — add two new rows, change the URL for prod-101 — and upload again. Sken.io will create the two new jobs and update the existing one. No manual editing needed.
Who Is This For?
If you are monitoring just a handful of pages, the standard job creation interface is perfectly fine. But if you deal with any of these situations, imports will save you a lot of time:
- You manage a large product catalog and need to track prices across many pages.
- You monitor competitor websites at scale.
- You need to keep your monitoring list in sync with another system (export from your CMS, a spreadsheet you share with your team, etc.).
- You want to quickly set up a batch of jobs without clicking through the UI for each one.
The import feature does one thing well: it turns a file into jobs. If you have ever spent 20 minutes creating the same type of job over and over, give it a try. Download the example CSV, fill in your URLs, and upload. That is it.